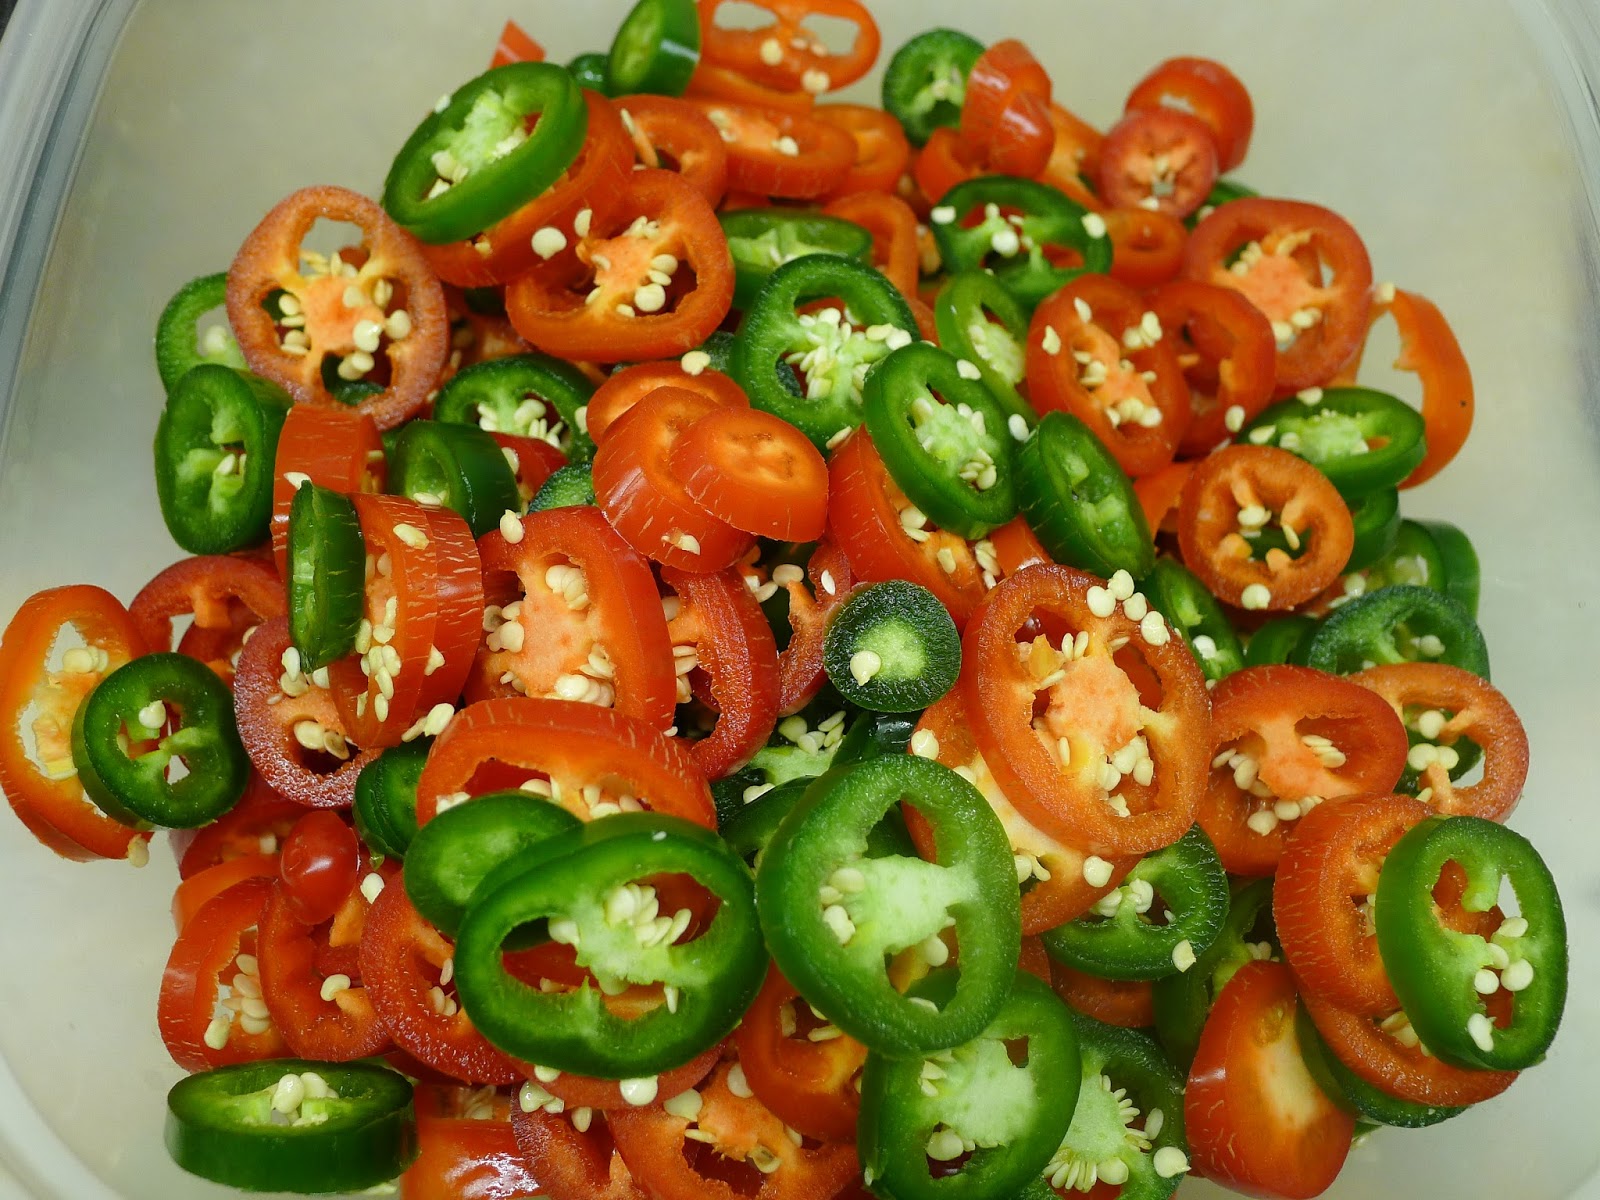
Showing posts with label hot pepper. Show all posts

Sunday, September 27, 2015

Home Grown Hot Sauce

I had a pound of ripe red jalapenos that needed using. In the past I've pickled them (yum!), fire roasted them, and used them in salsa, but I had never tried making my own hot sauce. This came out pretty good. You can use whatever type of chilies you like; the heat of the sauce will be entirely dependent on the heat of the chilies you use. If a quart of hot sauce sounds like too much, or you have fewer chilies available, feel free to halve or even quarter the recipe.


1 lb ripe (red) jalapenos, stemmed and seeded
1 cup white vinegar
1 cup cider vinegar
2 medium-large garlic cloves
1 Tbsp salt

Combine all ingredients in the blender and blend at increasing speed until completely pureed. I have a pretty high powered blender and I found that after the pureeing process the hot sauce was pretty foamy from all the air that had been whipped into it. Just let it sit, stirring occasionally, until the foam settles. Store in sealed container (s) in the fridge or freezer. I used pint jars, putting 3 in the freezer for later and one in the fridge for now.

Foamy hot sauce after blending

Makes about 1 quart.

Saturday, February 14, 2015

Chicken Spinach Pizza with Chili Peppers

Using some nice hoop house grown local spinach and pickled jalapenos from our garden. You can skip the chicken if you like, but it does play nicely with the greens and chilies.


1 14-inch pizza crust
Olive oil
3 ounces spinach, washed and finely chopped
1 cup diced cooked chicken
2 Tbsp chopped pickled chili peppers (or to taste)
3 ounces shredded mozzarella

Preheat the oven to 450 degrees. Lightly paint the pizza crust with olive oil.

Spread the spinach over the pizza crust, then distribute the chicken and the chili peppers over it. Be sure to spread the chilies evenly so you don't get an overly hot bite. Top with mozzarella.

Bake for 15-18 minutes, until the crust is done and cheese begins to brown.

Serves 3-4.

Saturday, August 23, 2014

Summer Vegetable Fried Rice with Egg

Fried rice is my go-to dish when I have a bunch of leftover cooked rice in the fridge. You can throw almost anything into it, so it's a great way to clean out extra or aging veggies in the fridge or use whatever the garden is producing in bulk. The vegetables listed here are what I happened to have on hand, but feel free to mix it up. You can throw in diced leftover steak or shredded chicken, chopped bacon, etc., but I also like this version, with a fried egg on top. This makes a good sized batch - we had a few servings leftover after feeding my family. I suggest only frying up as many eggs as you are sure you will serve in the first round; you can also cook a few more later if you need to, or you can cook them up fresh for the leftovers.


Canola oil
1 medium onion, chopped
1 Tbsp grated ginger root (optional)
1 pint shiitake mushrooms, stemmed and sliced
1-2 sweet peppers, diced
1-2 hot peppers, seeded and diced (optional)
1 large carrot, diced
1-2 medium summer squashes or zucchinis, diced
4 cups cold cooked rice (white or brown)
1/4 cup soy sauce
1 cup cashew or peanut pieces, lightly toasted (optional)
1 cup Thai basil leaves or cilantro (optional)
1 egg per serving

Heat a little canola oil in a wok or large skillet. Add the onion, ginger (if using), and shiitake mushrooms and stir-fry over medium-high heat for 3-4 minutes. Add the remaining veggies and continue to stir-fry until tender by not mushy. Drizzle in a little soy sauce if the vegetables are sticking too much to the bottom of the pan.

Add the rice to the pan, breaking it up with your fingers if it is clumped. Stir to mix with the vegetables, then drizzle with the soy sauce and make sure it is well combined. Stir in the nut and Thai basil or cilantro, if using. Cover the fried rice and set aside.

Fry enough eggs to place one on top of each serving. Sunny side up makes an attractive presentation, but over easy is fine, too. Ideally the yolk should remain at least somewhat gooey so it can mix in with the fried rice as you eat.

Serves about 6.
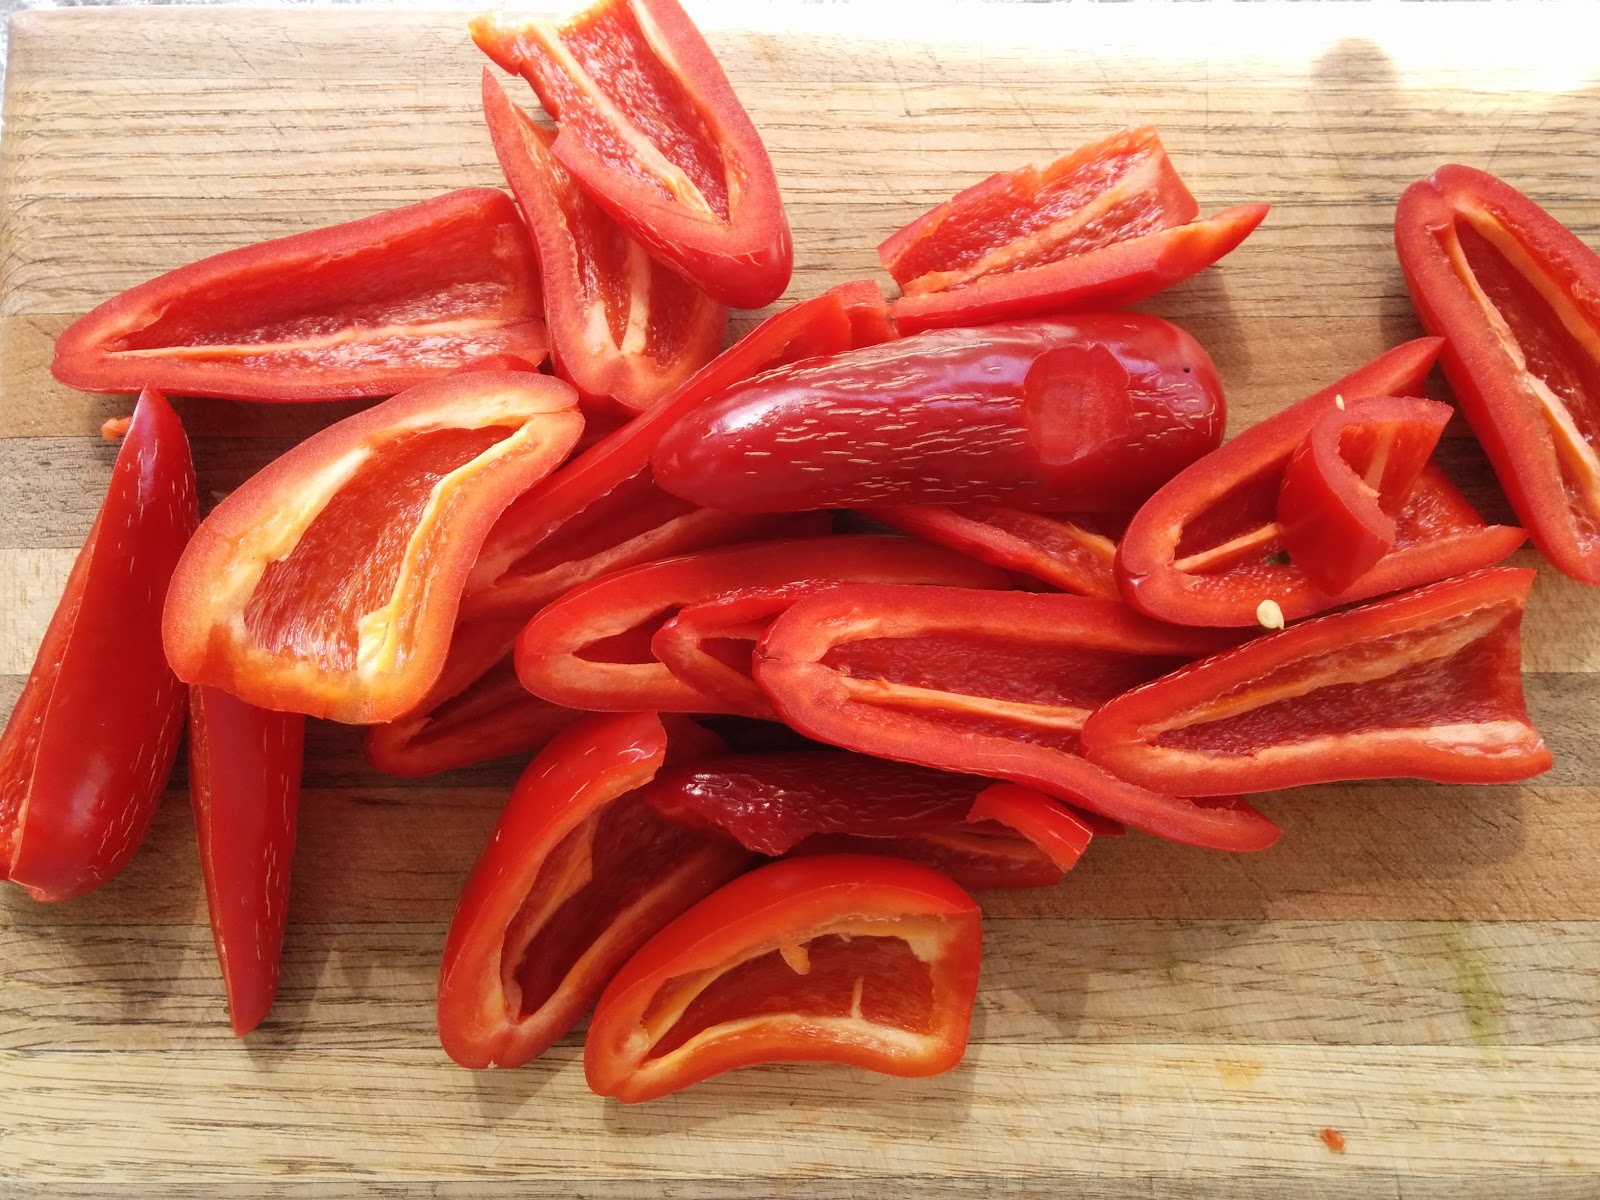
Monday, September 16, 2013

Pickled Jalapenos

This recipe comes from Massachusetts author Sherry Vinton's wonderful preserving book Put 'Em Up. You can use it for any kind of chili peppers. The pickling process mellows their heat considerably, but they still retain a little kick. The hotter the pepper you start with, the more kick retained. I like to use jalapenos and Hungarian hot wax or banana peppers. If you like the pickled flavor but not the heat, try sweet peppers. Once opened, a jar of these will keep for ages in the fridge.  Great for nachos, tacos or quesadillas, scrambled eggs, homemade salsa, etc.

If you want to make more or less than this recipe calls for, just keep in mind that each pound of fresh peppers equals roughly one quart (or equivalent) of pickled peppers.


2 lbs jalapenos or other chili peppers
3 cups distilled white vinegar
2 cups water
2 Tbsp salt
2 Tbsp sugar


Stem the peppers and slice them into rounds. You may want to use rubber gloves for this. If you opt to use your bare hands, be sure to scrub them very thoroughly with soap afterwards to avoid unpleasantness the next time you rub your eyes or some other sensitive area.


Prepare the brine by bringing the vinegar, water, salt, and sugar just to a boil then turning off the heat.

Pack the peppers tightly into jars (I like to do this in half pint jars but you can do pints as well). Using a funnel, ladle the brine over the peppers, leaving about a quarter inch of head space at the top. Wipe the rims clean, then place the lids on and add the rings, screwing them until until just 'fingertip tight'.

Process the jars in a boiling water bath, 10 minutes for half pints or 15 minutes for pints. Remove from the water and let cool for 24 hours. If any jars fail to seal, put them in the fridge and use them soon.

Makes 4 to 4 1/2 pints.

Saturday, April 13, 2013

Southwestern Spinach Pizza

Nice and green with a little tang and spice.  Don't skip the pickled peppers unless you really can't stand the heat - they are really good here.

To quickly steam spinach for an application like this, I rinse it well and put in a large microwaveable bowl with a plate covering and cook for 1-2 minutes on high.

1 14-inch pizza crust
olive oil
2-3 oz. shredded mozzarella
1/4 lb spinach, stemmed and lightly steamed
1/4 cup salsa (spiciness to your taste)
2-3 Tbsp sliced pickled hot peppers
2 oz. sharp cheddar, in small cubes or slices

Preheat the oven to 450 degrees.  Lightly paint the pizza crust with olive oil.

Spread the mozzarella over the pizza crust, then top with the spinach.  Dab with salsa and sprinkle with hot peppers and cheddar.  Bake for 15-18 minutes, until the crust is done and cheese begins to brown.

Serves 3-4.

Saturday, September 15, 2012

Fire Roasted Chili Peppers

We always grow one or two chili pepper plants in our garden each year, and often end up with more peppers than I can use fresh.  Some years I have made salsa, and hot peppers can also be frozen whole or sliced in half and seeded (just like sweet peppers).  This year I wanted to try something different, so I fire roasted a bunch for a result that is smoky and a little sweet as well as spicy.  I plan to use them in pots of chili, beans and rice, etc. through the winter.  The technique is much like the technique for fire roasting sweet peppers (which I also recommend doing now that sweet peppers are fully in season).

You can use green or red chili peppers; the ripe ones will be a bit sweeter.  If you have a mix of colors, I suggest keeping them them separate for strictly aesthetic reasons.  I strongly suggest wearing gloves (regular rubber gloves are fine) while handling the chilies, especially when you are ready to peel them.

If you are using large chili peppers, you can cut them in half lengthwise and seed them before grilling.  Otherwise, you put the whole peppers directly on the grill.

Get your grill going nice and hot.  Lay the chili peppers out across the grate and grill, turning as needed, until the skin is blistered and they are black all over.  Do not be shy about this, because the skin is very hard to remove if not fully blackened.  However, keep and eye on the chilies because you also don't want to char them so fully that you burn the flesh under the skin.

When the chilies are fully blackened, remove them from the grill and set them in a bowl with something covering it (they will steam a little, which also helps loosen the skins) until they are cool enough to handle.  Wearing gloves and using a paring knife, slice the top (stem part) off each chili and run the knife around the inside of it to remove as much of the seeds as possible.  Then peel or scrape off the blackened skins.  The chilies will get slippery as you peel them, so handle with care.

Once you have your peeled chilies, you can use them as is (probably mince first) and store them in the fridge.  You can also puree them.  I opted to puree and then tray freeze little dollops, stored in freezer bag for use in small quantities.


Thursday, September 13, 2012

Eggplant Chicken Chili

Yes indeed, more eggplant.  Not your standard chili vegetable perhaps, but its texture works well and it soaks up the flavors quite nicely.  If you like, substitute some minced chipotles in adobo sauce in place of the fresh hot peppers for a delicious shot of smoky heat.  Skip the chicken for a vegetarian version.

Olive oil
6-8 cloves garlic, minced
2 medium onions, chopped
2 large eggplants, peeled and diced
2 red bell peppers, diced
2 hot peppers (e.g. jalapenos), seeded and minced (or to taste)
4-6 medium tomatoes, peeled, seeded, and chopped
3 cups cooked kidney beans
1 Tbsp ground cumin
Salt and pepper to taste
2 cups shredded cooked chicken
Sour cream and or shredded cheddar for topping (optional)

Heat the oil in a soup pot.  Add the garlic and onions and saute over medium-high heat for 2-3 minutes.  Add the eggplant, peppers, hot peppers, and tomatoes.  You may want to add a little additional oil as well, as the eggplant will tend to soak it up.  Cook, stirring often, until the vegetables are somewhat softened.  Add the beans, cumin, salt and pepper, and chicken.  Cover, reduce heat, and simmer until the veggies are soft.

Serves 4-6.

Saturday, October 29, 2011

Pickled Hot Peppers

Having brought in many hot peppers that were still in the garden in preparation for a hard freeze and snow, I decided to try pickling the bounty. This recipe is lightly adapted from one in a book called Put 'Em Up by Sherry Brooks Vinton.

2 lbs hot peppers, stemmed and sliced into 1/8-inch rounds
3 1/4 cups distilled white vinegar
2 1/4 cups water
2 Tbsp salt
2 Tbsp sugar

Have ready 9 hot, freshly washed half-pint jars. Make sure you have new lids; boil them in a small saucepan then let them sit in the hot water. While you prepare the peppers and bring, bring a large pot of water to a boil for canning.

Pack the sliced peppers into the jars, leaving 1/2-inch headroom. The recipe in Put 'Em Up said 2 lbs would make for 4 pints, but I found it produced an extra half pint (and I needed to make just a little more brine to go with it, which I have accounted for in the ingredients above).

Combine the vinegar, water, salt and sugar in a saucepan and bring to a boil, then turn off the heat.

Using a funnel, ladle the brine over the peppers in the jars until they are covered, leaving 1/4-inch headroom at the top.

Carefully place the lids on the jars and screw on the rings, not too tight. Place the jars in the pot of boiling water and boil for 10 minutes. Remove and let cool on a rack. Once they are cooled and sealed they can be stored in a cool dark place. Any jars that do not seal should be refrigerated and used promptly.

Makes 8-9 half pints.

Early Snow

It's still only October, but there's a good three inches of snow on the ground and it's still falling thick and fast outside my window. In anticipation of the storm and the cold weather that has accompanied it, earlier this week we finally brought in all the last cold sensitive items from the garden - tomatoes (ripe, half ripe, and green), sweet peppers, and hot peppers. We still have broccoli, leeks, fennel, carrots, radishes, and lots of greens out there that like the cold and will probably be just fine.

Green peppers (both hot and sweet) will continue to ripen if brought indoors and kept somewhere cool and dark. Some people like to bring in the whole plant and hang it upside down, but I've also had good luck just keeping a big pile of peppers in a paper bag in my chilly pantry. Tomatoes will also ripen indoors, though the quality will never be as good as summer tomatoes (even the ones that ripen on the vine late in the season suffer in flavor from the cold nights).

I roasted the ripe tomatoes and put them in the freezer. The half ripe ones are sitting in a bowl to ripen over the next week or so. The green ones (about 10 lbs) I think I'm going to use for Green Tomato and Apple Chutney, which I will can (but first I need to get some more canning jars).

Green peppers can be frozen just like ripe ones (halve, seed, freeze freezer bags), but I'm hoping some more of mine will ripen up before they shrivel. The hot peppers I decided to try pickling this year, something I have not done before. Now I have 9 half-pint jars of lovely red, green, and purple pickled hot peppers. Pickling mellows their heat and intensifies their flavor, making their great for pizza, salsa, Mexican eggs, nachos, etc.