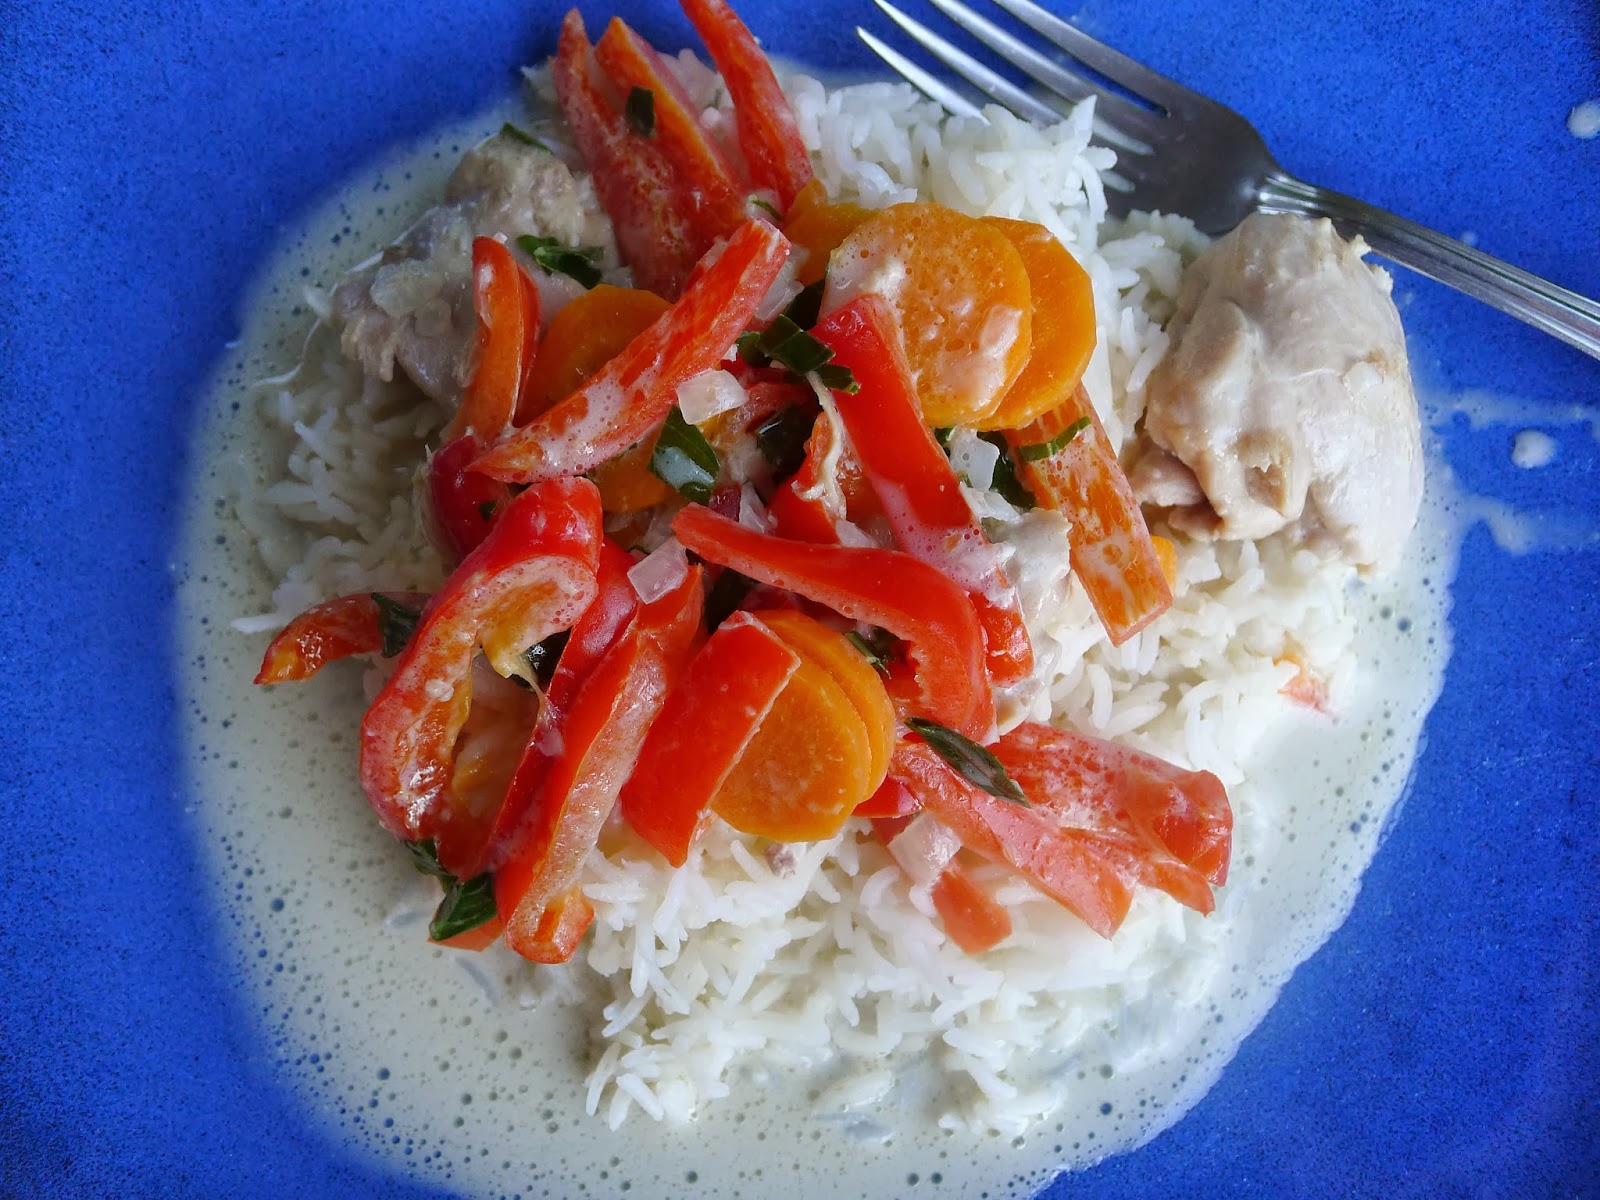
I made this Thai-themed dish inspired by the last of the Thai basil (you can substitute cilantro, which is more plentiful this time of year) in the garden plus the colorful peppers and carrots that are coming in abundantly right now. You can use bone-in chicken parts if you like - no need to stick to thighs - but they will need to braise longer to be fully cooked. Serve this over rice.
Canola oil
2 medium shallots, finely chopped
3 Tbsp minced or grated ginger
1 1/2 - 2 lbs boneless chicken thighs
1 14-oz can coconut milk (lite is fine)
2 large sweet peppers, sliced the long way
2-3 large carrots, sliced into rounds or matchsticks
1 tsp lime juice, or to taste
Salt to taste
1/4 cup chopped Thai basil or cilantro
Heat a little canola oil in a large skillet or braising pan. Add the shallots and ginger and saute over medium high heat for about 1 minute, then add the chicken. Brown quickly, turning over once, then add the coconut milk. Reduce heat and simmer, covered, until the chicken is cooked through.
Once the chicken is cooked through, add the vegetables and continue to simmer for a few minutes until they are tender but not too soft. Add lime juice and salt and stir to combine well. Taste and adjust seasonings if needed. Stir in the Thai basil or cilantro and remove from heat.
Serve hot over rice.
Serves 4-6.
Saturday, September 28, 2013
Pizza with Roasted Cherry Tomatoes and Feta
Tangy, sweet, and salty with Fire Roasted Cherry Tomatoes and feta. A great way to enjoy some of the last flavors of summer. You can, of course, substitute tomatoes roasted in the oven. If you like, sprinkle a bit of chopped fresh parsley, sage, or thyme over the pizza after it comes out of the oven.
1 14-inch pizza crust
Olive oil
2-3 oz shredded mozzarella
1 1/2 - 2 cups Fire Roasted Cherry Tomatoes
1 large shallot, finely chopped
2-3 oz crumbled feta
Freshly ground black pepper
Finely chopped fresh herbs (optional) - 1 Tbsp parsley or 1 tsp sage or thyme
Preheat the oven to 450 degrees. Lightly paint the pizza crust with olive oil.
Spread the mozzarella over the crust, then add the tomatoes, shallot, and feta, and top with a bit of freshly ground black pepper.
Bake for 15-18 minutes, until crust is done and cheese begins to brown. Top with herbs if desired.
Serves 3-4.
1 14-inch pizza crust
Olive oil
2-3 oz shredded mozzarella
1 1/2 - 2 cups Fire Roasted Cherry Tomatoes
1 large shallot, finely chopped
2-3 oz crumbled feta
Freshly ground black pepper
Finely chopped fresh herbs (optional) - 1 Tbsp parsley or 1 tsp sage or thyme
Preheat the oven to 450 degrees. Lightly paint the pizza crust with olive oil.
Spread the mozzarella over the crust, then add the tomatoes, shallot, and feta, and top with a bit of freshly ground black pepper.
Bake for 15-18 minutes, until crust is done and cheese begins to brown. Top with herbs if desired.
Serves 3-4.
Monday, September 16, 2013
Pickled Jalapenos
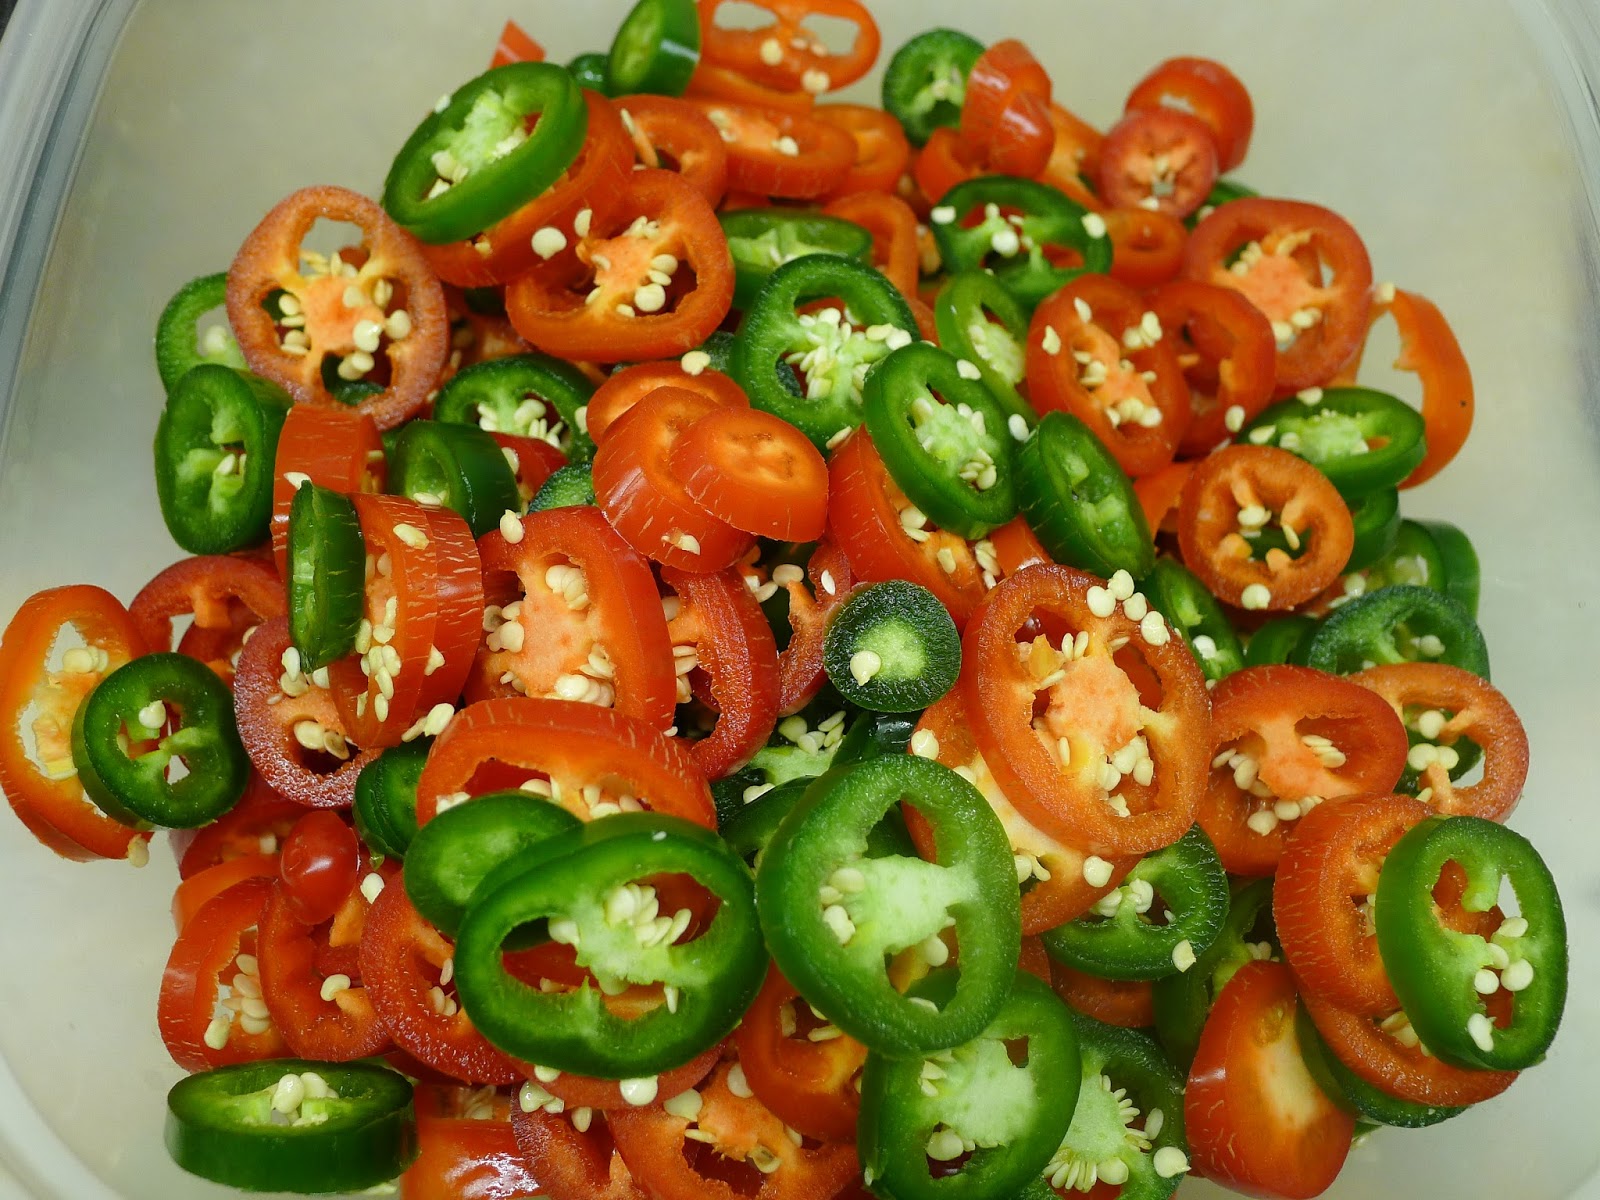
This recipe comes from Massachusetts author Sherry Vinton's wonderful preserving book Put 'Em Up. You can use it for any kind of chili peppers. The pickling process mellows their heat considerably, but they still retain a little kick. The hotter the pepper you start with, the more kick retained. I like to use jalapenos and Hungarian hot wax or banana peppers. If you like the pickled flavor but not the heat, try sweet peppers. Once opened, a jar of these will keep for ages in the fridge. Great for nachos, tacos or quesadillas, scrambled eggs, homemade salsa, etc.
If you want to make more or less than this recipe calls for, just keep in mind that each pound of fresh peppers equals roughly one quart (or equivalent) of pickled peppers.
2 lbs jalapenos or other chili peppers
3 cups distilled white vinegar
2 cups water
2 Tbsp salt
2 Tbsp sugar
Stem the peppers and slice them into rounds. You may want to use rubber gloves for this. If you opt to use your bare hands, be sure to scrub them very thoroughly with soap afterwards to avoid unpleasantness the next time you rub your eyes or some other sensitive area.
Prepare the brine by bringing the vinegar, water, salt, and sugar just to a boil then turning off the heat.
Pack the peppers tightly into jars (I like to do this in half pint jars but you can do pints as well). Using a funnel, ladle the brine over the peppers, leaving about a quarter inch of head space at the top. Wipe the rims clean, then place the lids on and add the rings, screwing them until until just 'fingertip tight'.
Process the jars in a boiling water bath, 10 minutes for half pints or 15 minutes for pints. Remove from the water and let cool for 24 hours. If any jars fail to seal, put them in the fridge and use them soon.
Makes 4 to 4 1/2 pints.
If you want to make more or less than this recipe calls for, just keep in mind that each pound of fresh peppers equals roughly one quart (or equivalent) of pickled peppers.
2 lbs jalapenos or other chili peppers
3 cups distilled white vinegar
2 cups water
2 Tbsp salt
2 Tbsp sugar
Prepare the brine by bringing the vinegar, water, salt, and sugar just to a boil then turning off the heat.
Pack the peppers tightly into jars (I like to do this in half pint jars but you can do pints as well). Using a funnel, ladle the brine over the peppers, leaving about a quarter inch of head space at the top. Wipe the rims clean, then place the lids on and add the rings, screwing them until until just 'fingertip tight'.
Process the jars in a boiling water bath, 10 minutes for half pints or 15 minutes for pints. Remove from the water and let cool for 24 hours. If any jars fail to seal, put them in the fridge and use them soon.
Makes 4 to 4 1/2 pints.
Sunday, September 15, 2013
Fire Roasted Cherry Tomatoes
Late blight has done in all of our tomato plants except one at this point - but that one, a Matt's Wild cherry tomato, is going strong and proving remarkably resistant. Plus the tomatoes are great! Today I fire roasted some on the grill along with some of our very last Golden Sweet tomatoes, a sweet yellow grape tomato that was the second-to-last left. Try these on pizza, tossed with pasta, or on their own as a side dish.
1 lb cherry or grape tomatoes (slice larger ones in half)
1 Tbsp olive oil
Salt and pepper to taste
Toss the tomatoes in a bowl with the olive oil, salt, and pepper until well coated.
Fire up the grill. Place the tomatoes in a grill basket and grill over medium-high heat for 10-15 minutes, stirring 2-3 times over the course of the cooking. Remove from heat when tender and nicely browned in places.
Makes 1 1/2 - 2 cups.
Monday, September 2, 2013
Fresh Tomatoes for Sauce
This is not so much a recipe as an advance preparation technique. You can use this for nearly any type of tomato (I don't recommend it for cherry or grape tomatoes unless they're quite large, just because the work involved doesn't seem worth it), including the juiciest slicers, and end up with a product that's good for making sauce without hours and hours of simmering down. You can do this in a small batch for a single dinner or in large quantities to freeze.
Start by coring your tomatoes and cutting out any bad spots.
Bring a large pot of water to a boil. While you wait for it to boil, prepare a large bowl of ice water nearby.
Carefully drop the tomatoes into the pot of boiling water to blanch them for peeling - as many as will comfortably fit. After 1 minute, scoop them out with a slotted spoon and place them into the ice water. After a couple minutes, scoop them out of the ice water. Repeat with as many batches as you have.
Peel your blanched tomatoes. The skin should slip right off.
Once peeled, slice each tomato open. If you're using paste tomatoes, you can just scoop out the seeds and place seeded tomatoes in a colander over the sink or a large bowl. If you're using slices or the like, break them into a few pieces and squeeze carefully in your hand - do this over a bowl! You want all the seeds and much of the excess liquid to go into the bowl below while holding onto the tomato flesh. Once you're satisfied with the amount of seeds and liquid squeezed out, toss the flesh into the colander.
Let the seeded and squeezed tomatoes sit in the colander for a bit, shaking or stirring them a few times to encourage excess liquid to drain off. Once this is done, the tomatoes are ready to use or freeze. (I free them in quart freezer bags, about 3 cups per bag, pressed out kind of flat for tidy storage and faster thawing. You can thaw them in warm water.)
| Blanched and seeded, ready to drain in the colander |
Bring a large pot of water to a boil. While you wait for it to boil, prepare a large bowl of ice water nearby.
Carefully drop the tomatoes into the pot of boiling water to blanch them for peeling - as many as will comfortably fit. After 1 minute, scoop them out with a slotted spoon and place them into the ice water. After a couple minutes, scoop them out of the ice water. Repeat with as many batches as you have.
Peel your blanched tomatoes. The skin should slip right off.
Once peeled, slice each tomato open. If you're using paste tomatoes, you can just scoop out the seeds and place seeded tomatoes in a colander over the sink or a large bowl. If you're using slices or the like, break them into a few pieces and squeeze carefully in your hand - do this over a bowl! You want all the seeds and much of the excess liquid to go into the bowl below while holding onto the tomato flesh. Once you're satisfied with the amount of seeds and liquid squeezed out, toss the flesh into the colander.
Let the seeded and squeezed tomatoes sit in the colander for a bit, shaking or stirring them a few times to encourage excess liquid to drain off. Once this is done, the tomatoes are ready to use or freeze. (I free them in quart freezer bags, about 3 cups per bag, pressed out kind of flat for tidy storage and faster thawing. You can thaw them in warm water.)
Sunday, August 25, 2013
Roasted Tomatoes for the Freezer
There are lots of ways to freeze tomatoes. Every year I experiment a little, seeking the magical nexus between up-front effort and quality of the end product. This one is a bit more up-front work, but I'm very optimistic about the end result.
Like all tomato freezing and canning, this will yield the best results with paste tomatoes rather than the much juicier slicers or the too-fussy-to-handle cherry tomatoes. (Both of those work well in salsa or dried.)
I have come to the conclusion that it is best to peel the tomatoes, despite the extra work involve (it's not that bad) - frozen tomato skins end up tough and they inevitably peel off the chunks of tomato and float around in whatever you've cooked with them. Not a huge deal, but better to peel them before freezing.
Before peeling the tomatoes, core them and cut out any bad spots. This is far easier to do before blanching than after.
To peel tomatoes easily, bring a Dutch oven or other large pot of water to a boil. Have a large bowl of ice water ready nearby. Dunk the tomatoes for about 1 minute each in the boiling water, then lift them out with a slotted spoon and place in the bowl of ice water. (This is called blanching.) Remove from ice water, and you'll find that the skins slip right off.
Peel off the skins, squeeze out the seeds and excess liquid, and place the tomatoes in a roasting pan. Drizzle with olive oil and sprinkle with salt and pepper, then roast at 400 degrees for 30 minutes. Remove from the oven and let them cool.
Scoop cooled tomatoes out with a slotted spoon or dump them into a colander to remove more liquid. When ready, scoop them into freezer bags. I like to use quart bags, freezing about 3 cups of tomatoes per bag - that seems to be about the right amount for most recipes I use them in. Squeeze excess air out of the bags, then press the tomatoes out flat - they will store more compactly and thaw more quickly this way.
When you are ready to use these tomatoes, thaw them in a bowl of warm water until you can get them out of the bag.
Like all tomato freezing and canning, this will yield the best results with paste tomatoes rather than the much juicier slicers or the too-fussy-to-handle cherry tomatoes. (Both of those work well in salsa or dried.)
I have come to the conclusion that it is best to peel the tomatoes, despite the extra work involve (it's not that bad) - frozen tomato skins end up tough and they inevitably peel off the chunks of tomato and float around in whatever you've cooked with them. Not a huge deal, but better to peel them before freezing.
Before peeling the tomatoes, core them and cut out any bad spots. This is far easier to do before blanching than after.
To peel tomatoes easily, bring a Dutch oven or other large pot of water to a boil. Have a large bowl of ice water ready nearby. Dunk the tomatoes for about 1 minute each in the boiling water, then lift them out with a slotted spoon and place in the bowl of ice water. (This is called blanching.) Remove from ice water, and you'll find that the skins slip right off.
| Blanched tomatoes ready to peel |
| Roasted tomatoes ready to drain and package |
When you are ready to use these tomatoes, thaw them in a bowl of warm water until you can get them out of the bag.
Drying Basil
The basil is tall and bushy in the garden. Last weekend I made pesto for the freezer; this weekend I dried basil for winter use. In the past I have experimented with hanging basil stems to dry, but it hasn't worked out well. You really need a warm dry space like an attic to do that, or better yet, an arid climate. This year I got out the dehydrator, and the results were both fast and great. Unlike tomatoes, peaches, etc., you can dry herbs in about 2 hours.
Choose leaves that are still reasonably tender and are not insect-eaten or yellowed. Spread them out in more or less one layer on the dehydrator trays. It's okay if they overlap because they will shrink considerably as they dry.
Dry for about 2 hours, checking periodically after the first hour and a half. When done, they should be brittle and crisp with no trace of moisture remaining. Store in an airtight container, crushing them as you fill it.
| Ready to dry |
Dry for about 2 hours, checking periodically after the first hour and a half. When done, they should be brittle and crisp with no trace of moisture remaining. Store in an airtight container, crushing them as you fill it.
| Post drying - the leaves have shrunk |
| Ready for storage in the pantry |
Subscribe to:
Posts (Atom)